Joomla 2.5 setup series
2. How to rename the installation directory of Joomla using FTP
This tutorial assumes you have a FTP application and have opened and logged in to your server via FTP
There are a number of both free and commercial FTP applications. In this example, we will be using CuteFTP
1) On your (remote) web server, open the htdocs or public_html directory, then select the directory where Joomla has been previously installed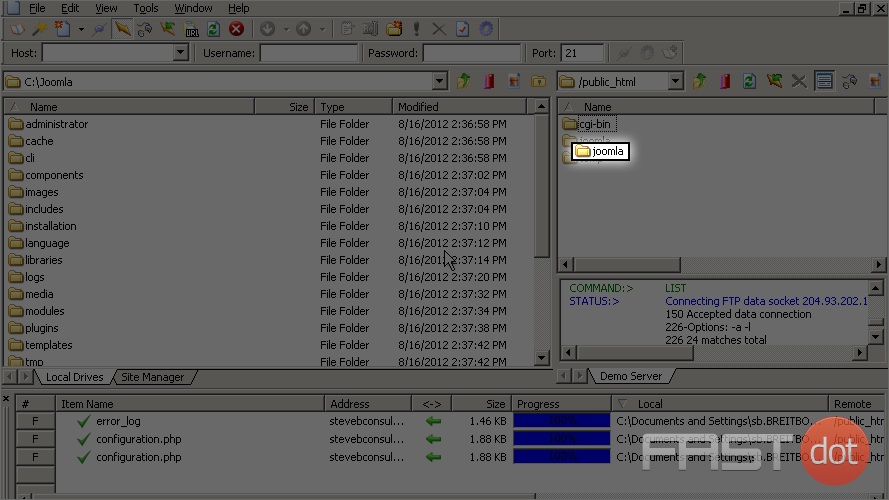
2) Right click the ‘joomla’ directory and select Rename from the options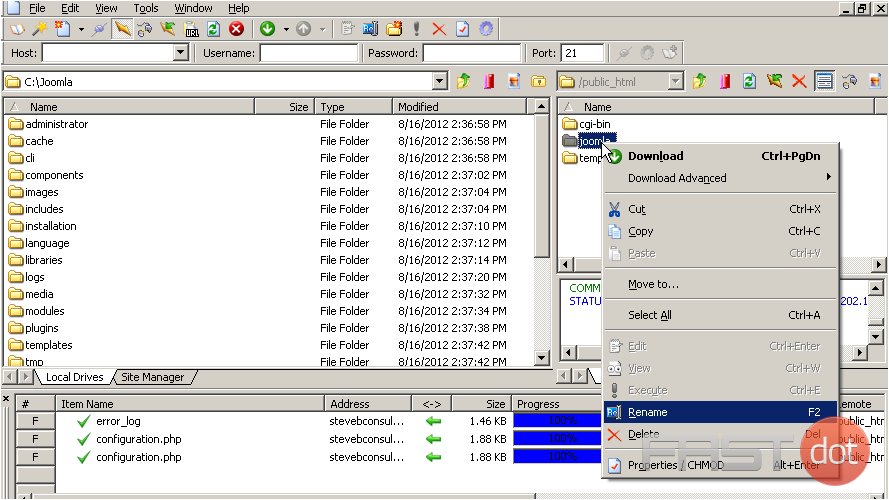
3) Click the beginning of the directory name and let’s add the letters ‘my’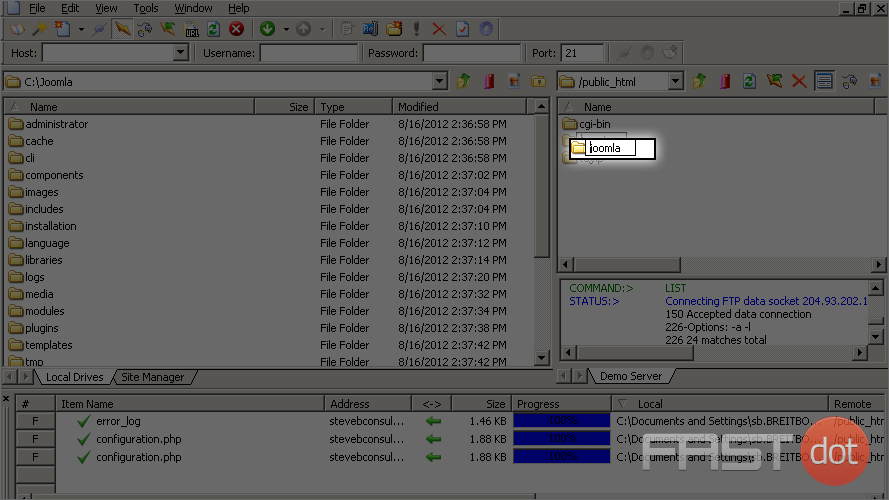
4) Next double click the ‘myjoomla’ directory to open it
Now scroll down to locate the file named ‘configuration.php’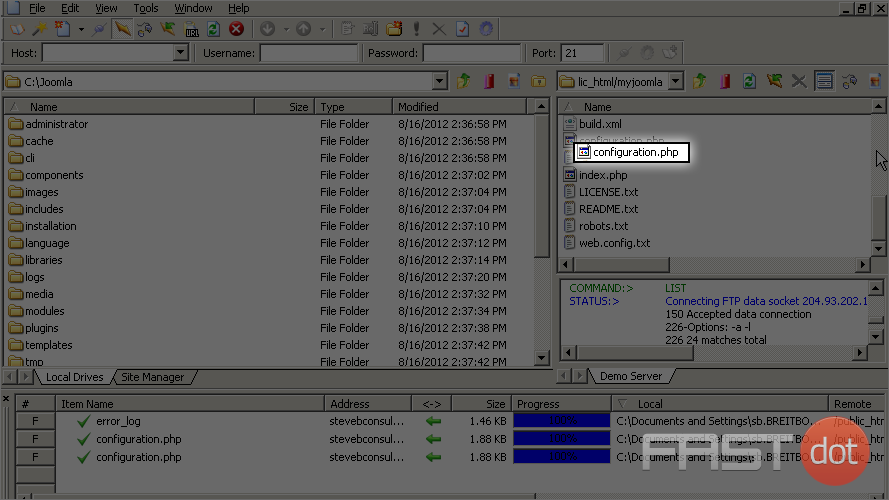
5) Select and right click on the file ‘configuration.php’, then select the Edit option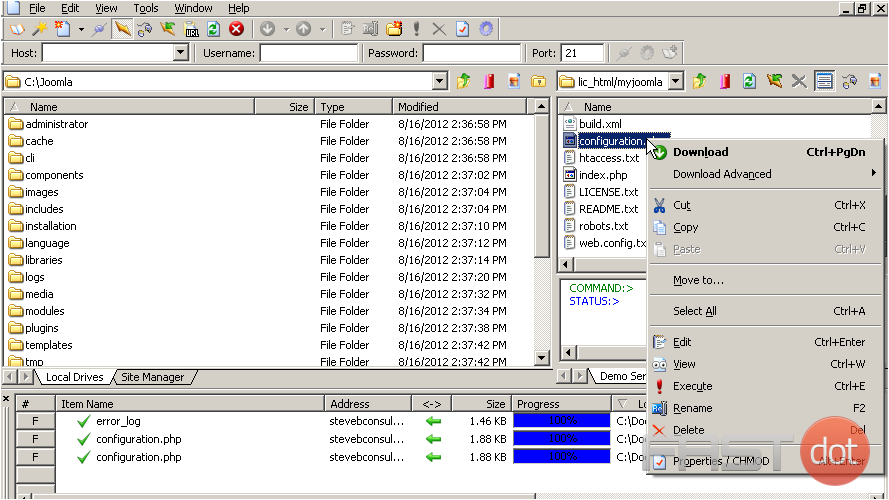
From the editor, we only need to change the path to the log and temp file paths. Most, if not all, Joomla templates will detect the directory they are running from
Scroll down to the bottom of the file
6) Select the place in the $log_path where we will edit it to match our new directory name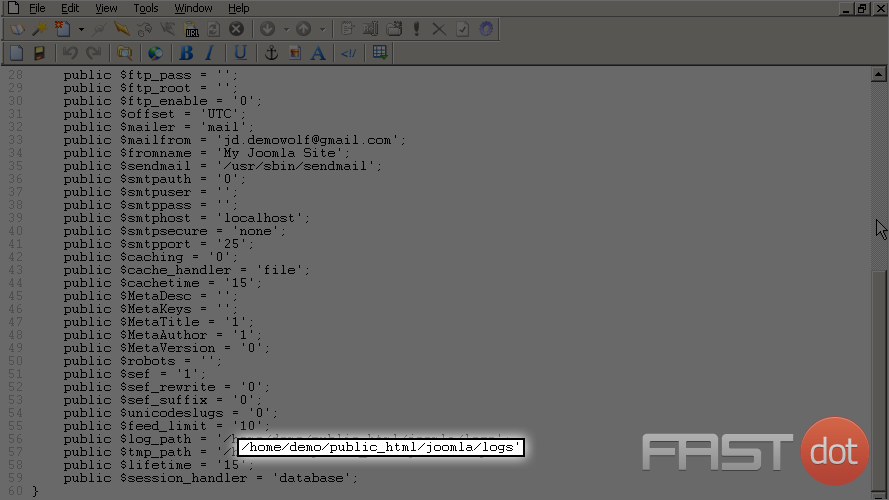
7) Change the path to read ‘myjoomla’ from just ‘joomla’
8) Do the same for the $tmp_path value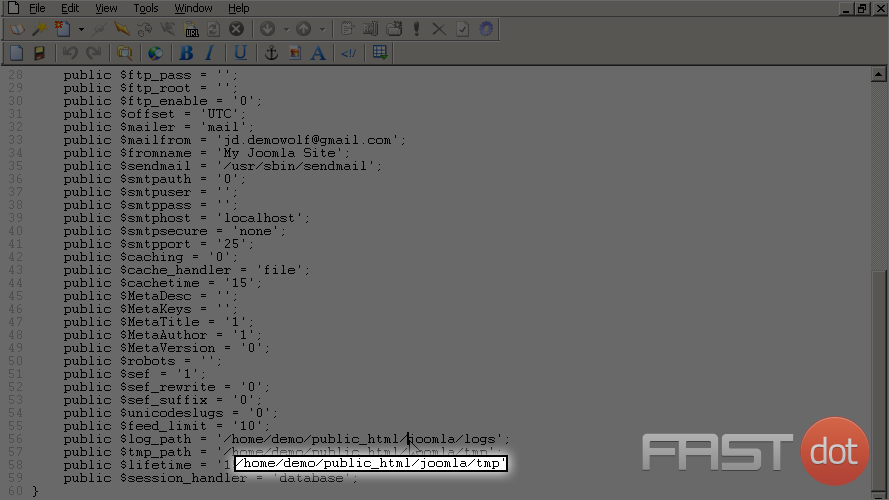
9) Next select to Save the edited file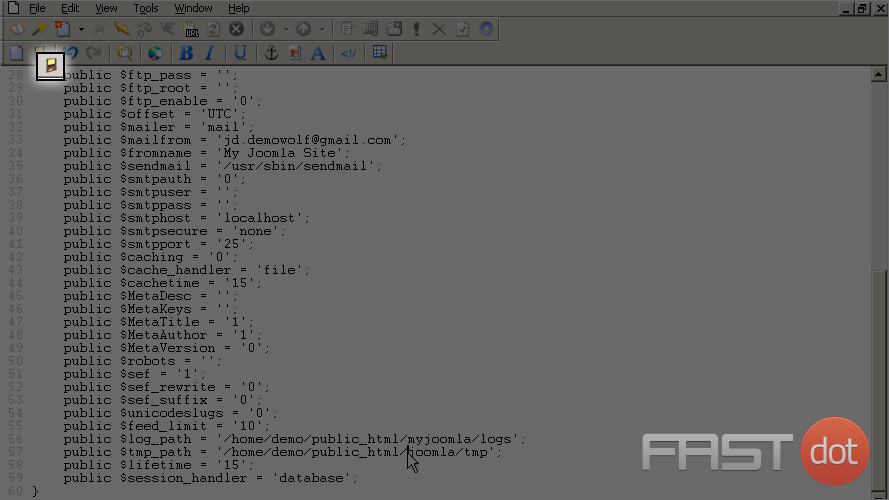
10) Now close the editor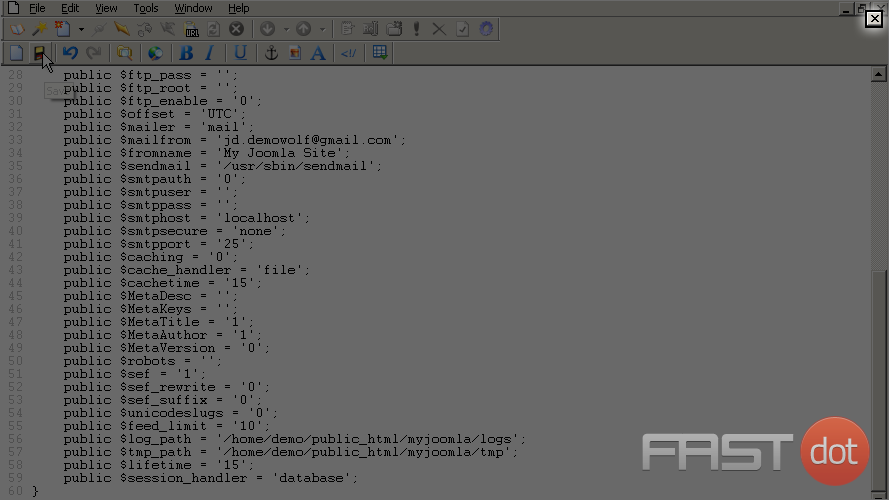
If you are unable to edit the file from within your FTP application then you will need to download the file to your computer, edit it and then upload it to your web server
11) After downloading the file, right click it and select a text editor to make the changes in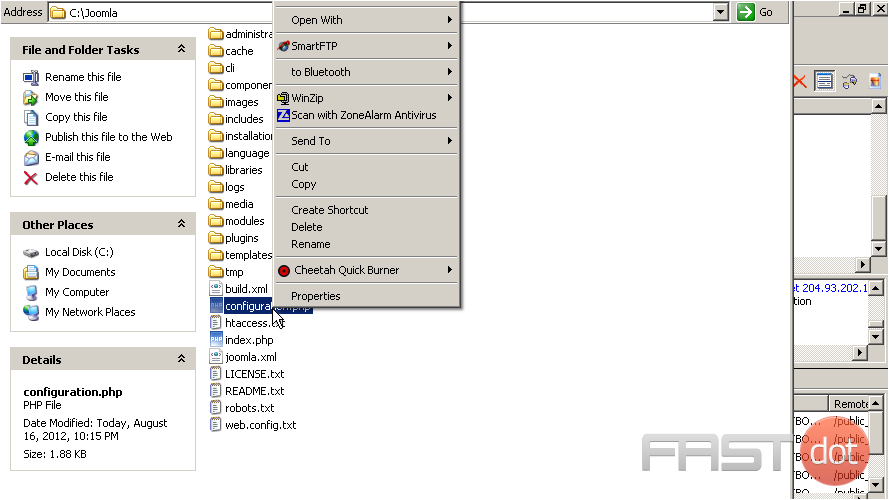
12) Scroll to the bottom of the file and make the changes to the file as previously described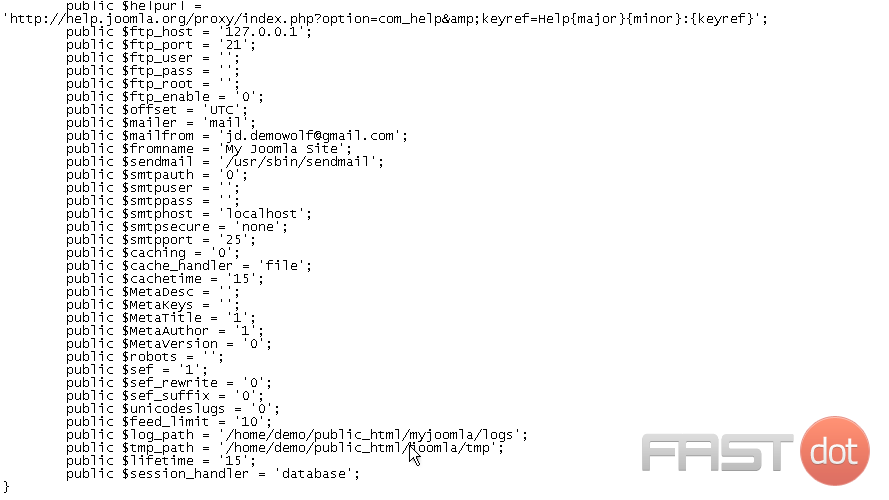
13) Be sure to Save your changes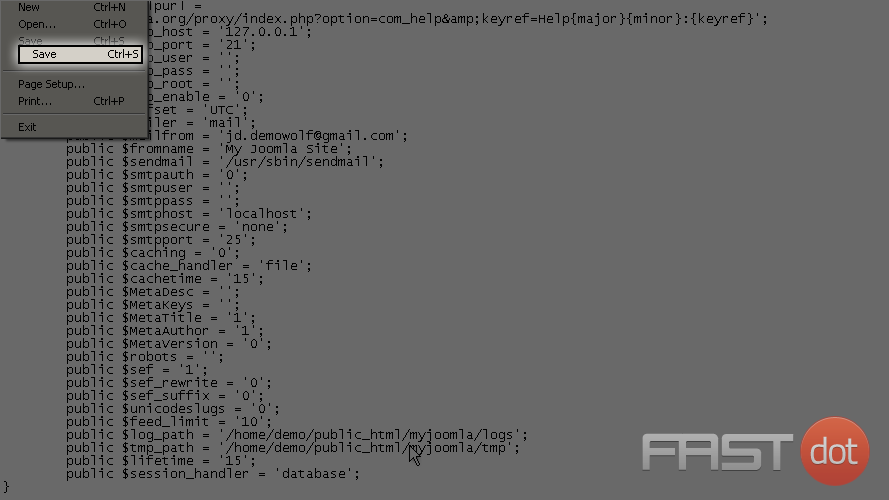
14) Now from your FTP application, locate the file you edited on your computer and upload it to your web server in the Joomla directory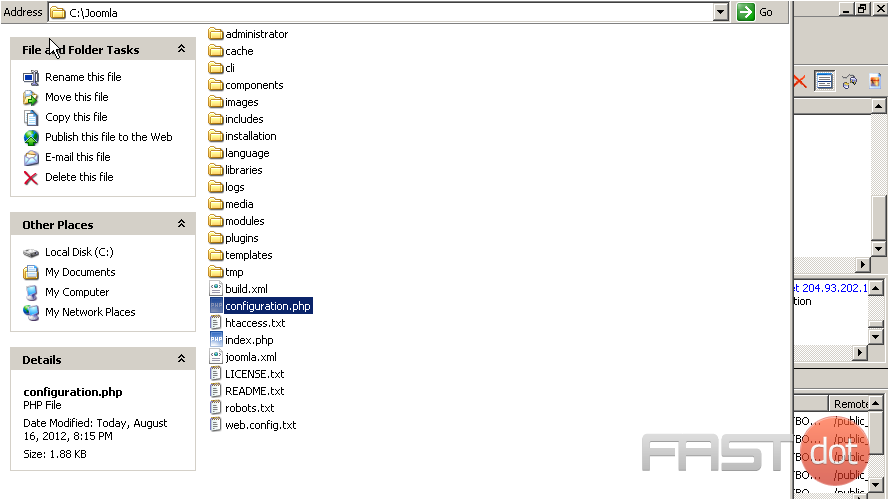
15) We want to overwrite the old file with new edited one so select the Yes button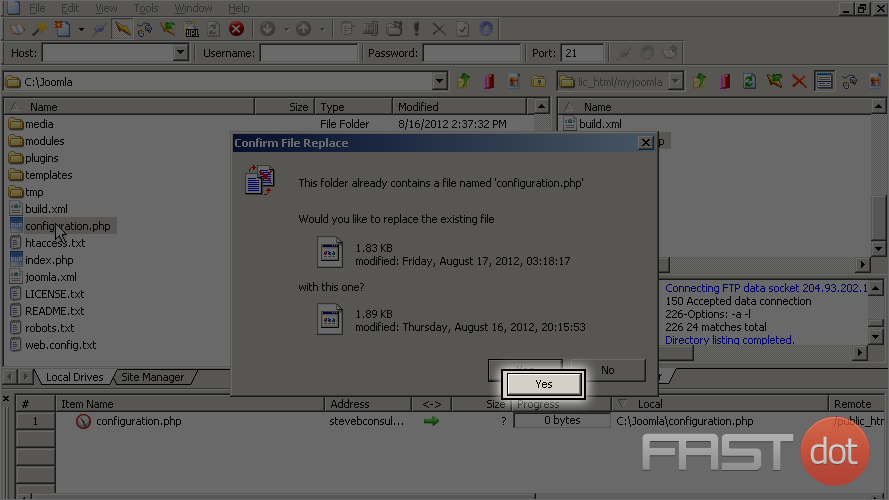
You now know how to rename your Joomla directory using FTP

