Joomla 2.5 end-user series
Publishing articles in Joomla is a straightforward process. Joomla is a robust content management system (CMS) that allows you to create, organise, and manage content with ease. Below is a comprehensive guide to publishing articles in Joomla.
Step 1: Access the Joomla Administrator Panel
- Log in to your Joomla administrator panel by navigating to:
- Enter your admin username and password.
Step 2: Navigate to the Article Manager
- From the Joomla dashboard, go to Content in the top menu.
- Click Articles from the dropdown menu, or select Articles directly from the control panel.
Step 3: Create a New Article
- In the Article Manager, click the New button (usually located in the top-left corner).
- This opens the article editor, where you can input your content.
Step 4: Add Article Details
- Title: Enter a descriptive title for your article in the Title field.
- Content: Use the built-in editor to create your content. The editor supports text formatting, images, and links. You can switch between the WYSIWYG editor and HTML view if needed.
- Category: Assign the article to a category. If no category exists, you can create one by clicking the Select button next to the Category field and choosing New Category.
- Tags: Add relevant tags to help organise your article.
- Status: Set the status to Published to make the article live.
- Featured: Mark the article as Featured if you want it to appear on the homepage or other designated areas.
Step 5: Configure Metadata and Publishing Options
- Publishing:
- Set the Start Publishing and Finish Publishing dates if needed.
- Assign the author, if different from the currently logged-in user.
- Metadata:
- Add metadata such as a description and keywords to improve SEO.
- Permissions:
- Define who can view or edit the article.
Step 6: Save the Article
- Save: Click Save to save the article and stay on the editing page.
- Save & Close: Click Save & Close to save your article and return to the Article Manager.
- Save & New: Click Save & New to save the current article and open a new editor for another article.
Step 7: View the Published Article
- Visit the front end of your Joomla site.
- Navigate to the menu or category where the article is published. Ensure the menu item is correctly linked to the article or its category.
Optional: Linking the Article to a Menu
- Go to Menus > Main Menu (or the relevant menu).
- Click New to create a new menu item.
- Select the Menu Item Type as Articles > Single Article.
- Choose the article you just created.
- Save the menu item.
Best Practices for Publishing Articles in Joomla
- Use Descriptive Titles: Titles should be concise and relevant to the content.
- Optimise Images: Use appropriately sized and optimised images to enhance loading speed.
- SEO: Write unique meta descriptions and include keywords in titles, content, and metadata.
- Regular Updates: Keep your articles updated with the latest information.
- Backup: Regularly back up your Joomla website to prevent data loss.
By following these steps, you can efficiently create and manage articles in Joomla to engage your audience effectively.
- Register a Domain Name
Registering a domain name is a fundamental step in establishing an online presence, whether it’s for a personal project, a business, or any other endeavor. - Progressive Mix of World News and Propaganda
- Migrating from GoDaddy Website Builder to WooCommerce
Building an online store with a Website Builder is a great starting point for a new business. - WordPress Security Vulnerabilities and Solutions
Security is a massive topic in the modern world. Mental, physical, emotional, financial, cyber, we all care one way or another about at least one of those. - Perform an SEO Audit for WordPress
You can’t simply build a WordPress website and think you’ll attract traffic and users without having a solid search engine optimization strategy.
A key element of any successful search engine optimization strategy is performing regular SEO audits of your website. - LIEFFIE – Digital News and Development
8. How to Publish articles in Joomla
For this tutorial we will login as a user with Publisher access
1) Scroll down and to the left to login
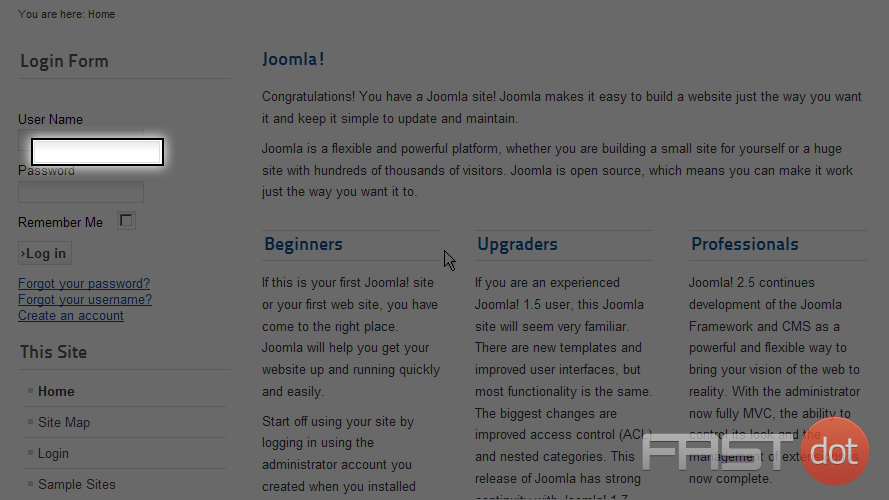
Scroll down to the User Menu
2) Click on the Review Category Articles menu item
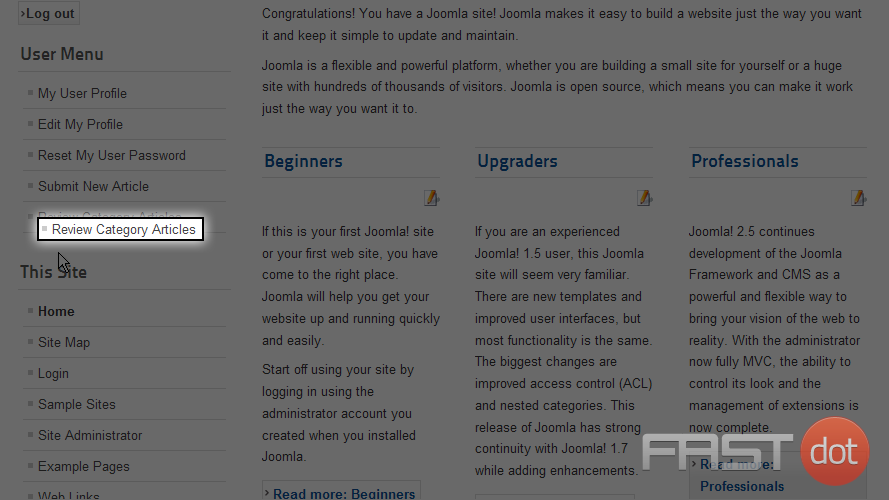
Here we can see a listing of Categories and the number of articles they contain
3) Let’s click on the link for the category titled Joomla!
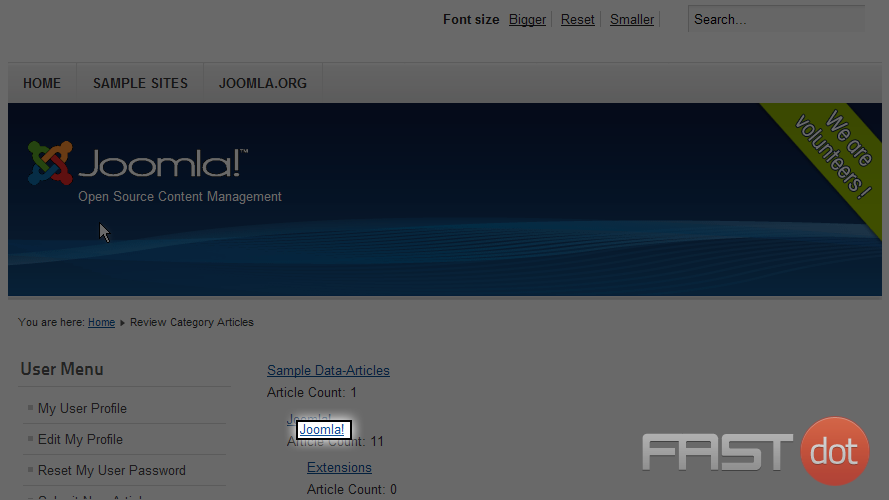
Scroll down to view the listings of articles in this category
The articles listed are for the current category. Highlighted articles are ones that have yet to be approved and published
4) Let’s select the highlighted article, My Article, by clicking on the edit icon
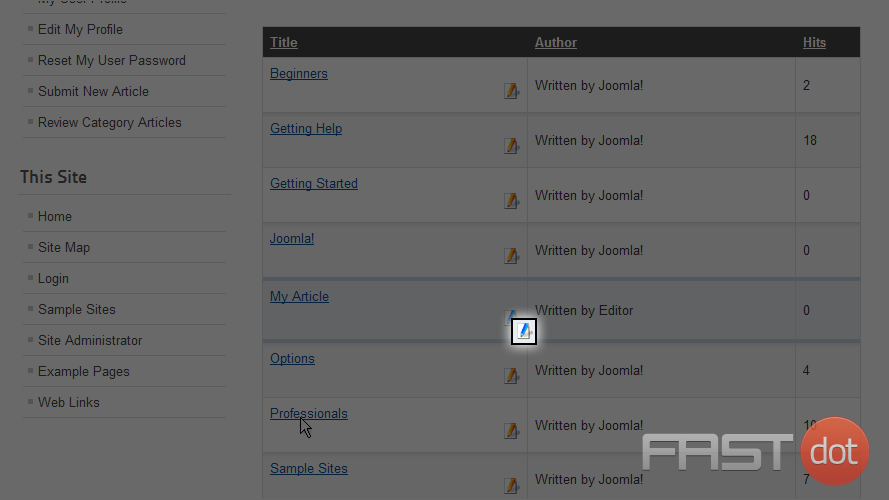
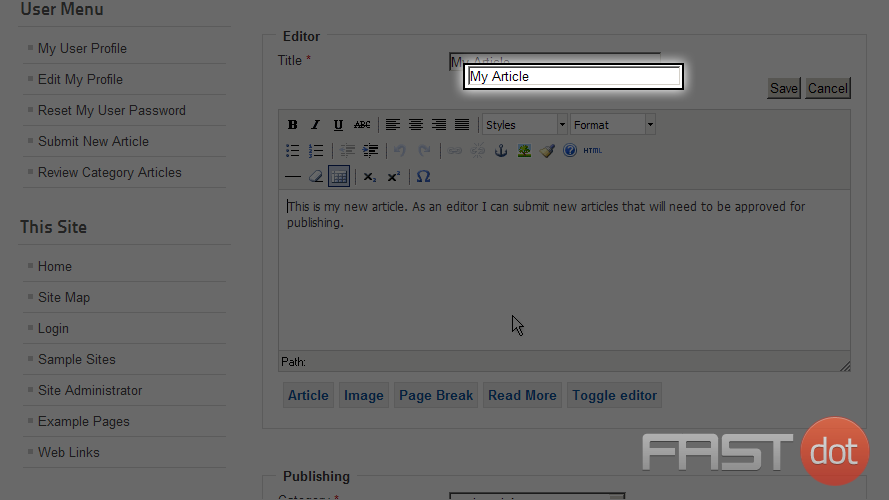
Here we can edit the article if needed
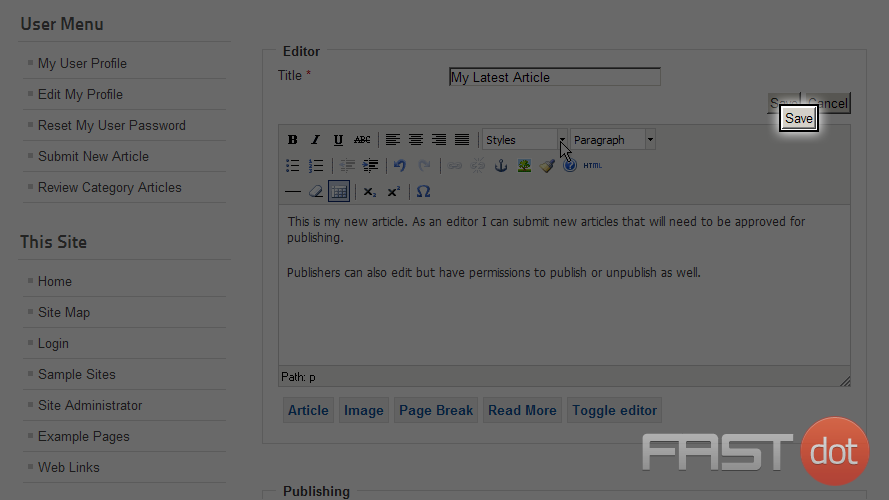
5) Click on the Title field to select it and make changes
6) Now select the text editor by clicking in the text area
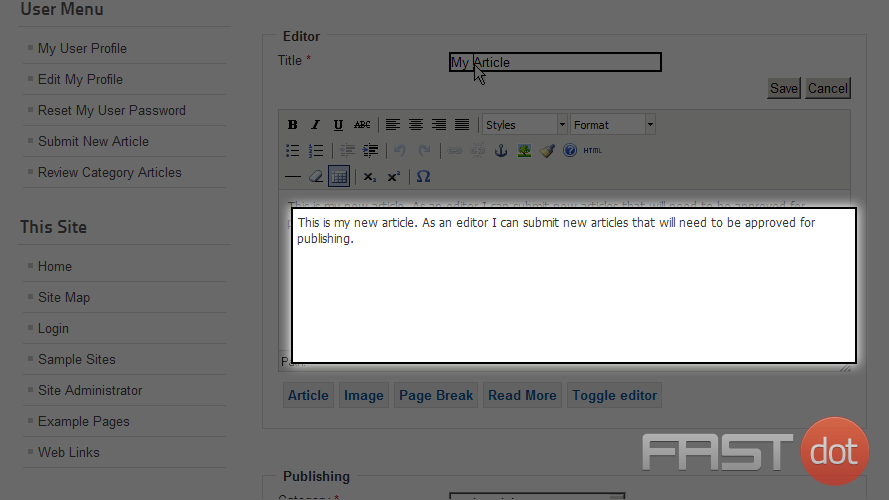
Next scroll down to the Publishing options
7) To approve and publish this article, click the Status dropdown list and select Published
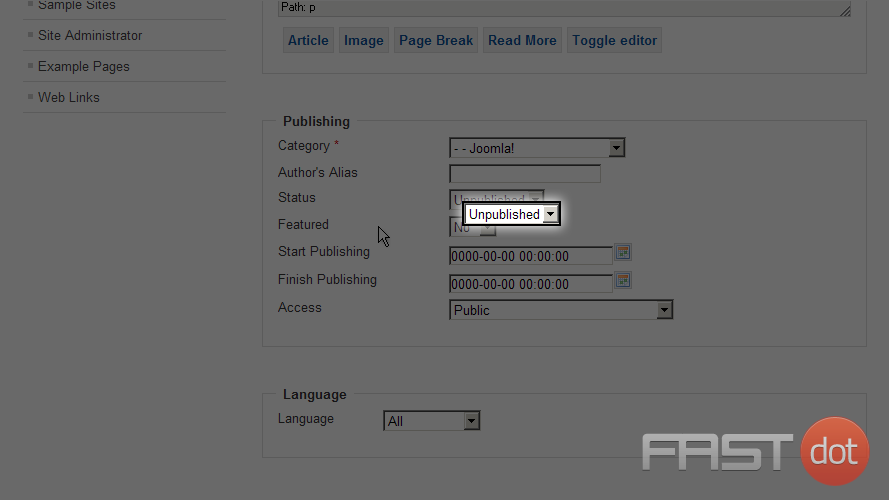
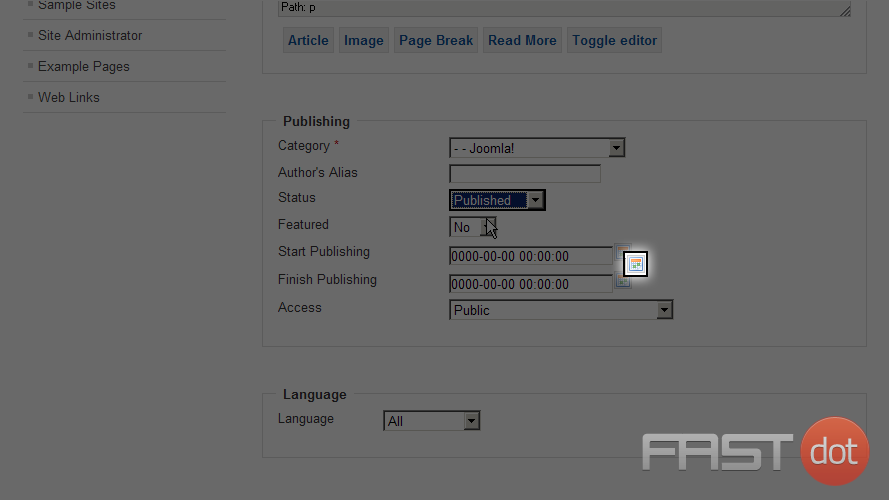
8) To set a Start Publishing date, click the calendar icon (leaving all zero’s will publish immediately)
9) In the popup calendar select a date to start publishing the current article by clicking on it
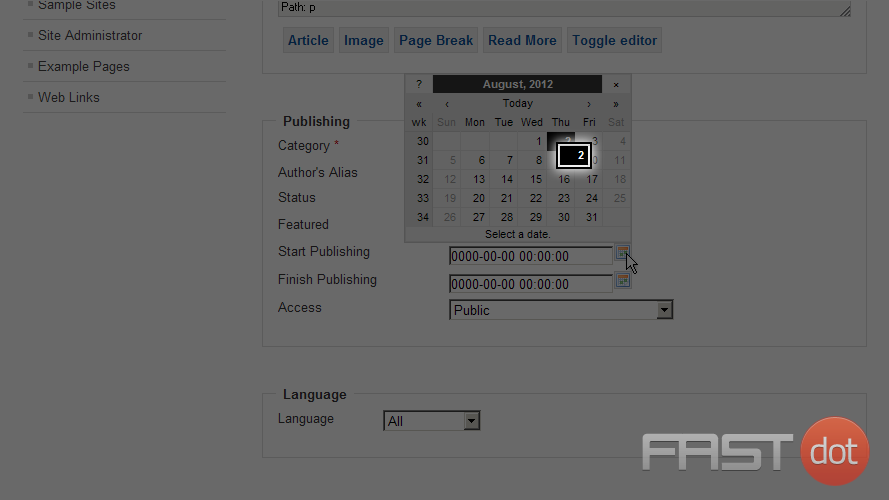
Leaving the Start or Finish Publishing date all zeros means it will publish immediately
Scroll down to enter optional Metadata
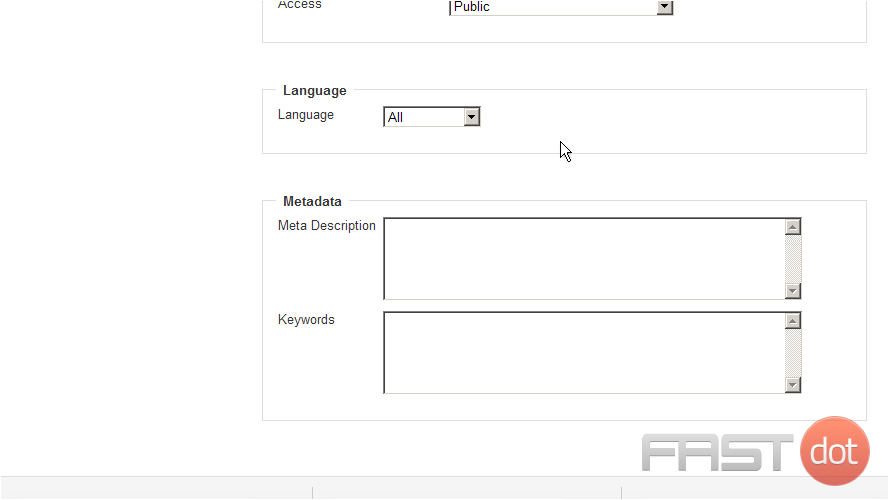
10) Scroll back up and select the Save button
You now know how to Publish existing articles in Joomla
